
HMI Studio
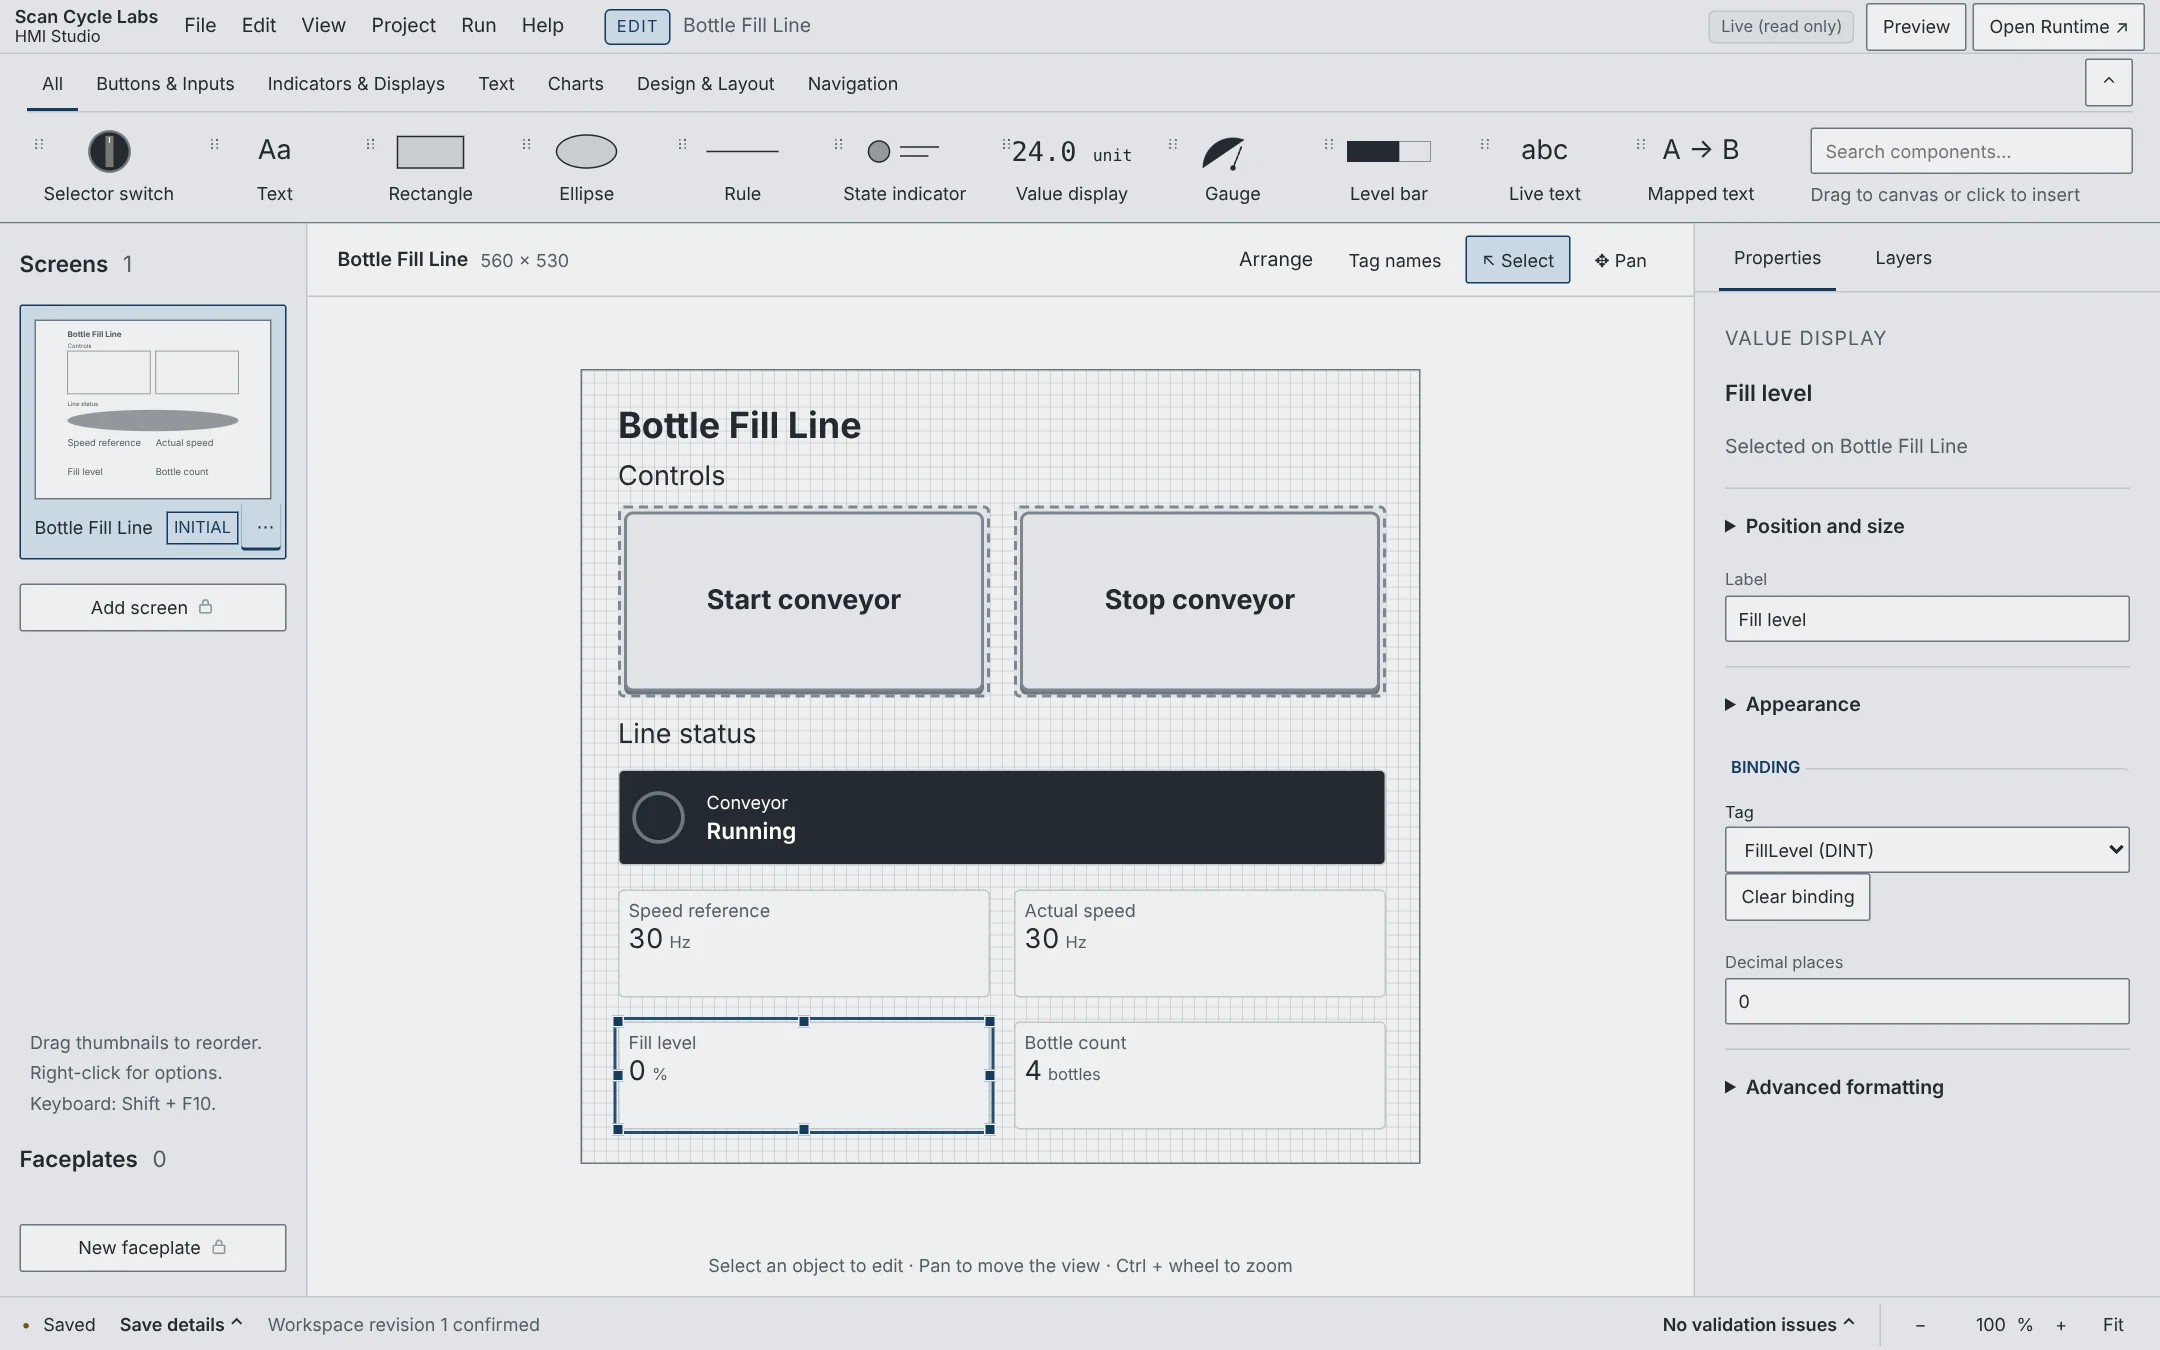
HMI Studio opens in its own window. Place controls and indicators on a screen, bind them to project tags, then run the screen with your project.
Build a screen
- Open your project and choose HMI Studio. Allow the new window if your browser asks.
- Add a control or indicator from the Studio’s palette and place it on the screen.
- Select it and set its tag binding in Properties. Match the binding type to the tag.
- Save the Studio changes to the Workspace. Save the project file to keep those screens with your logic.
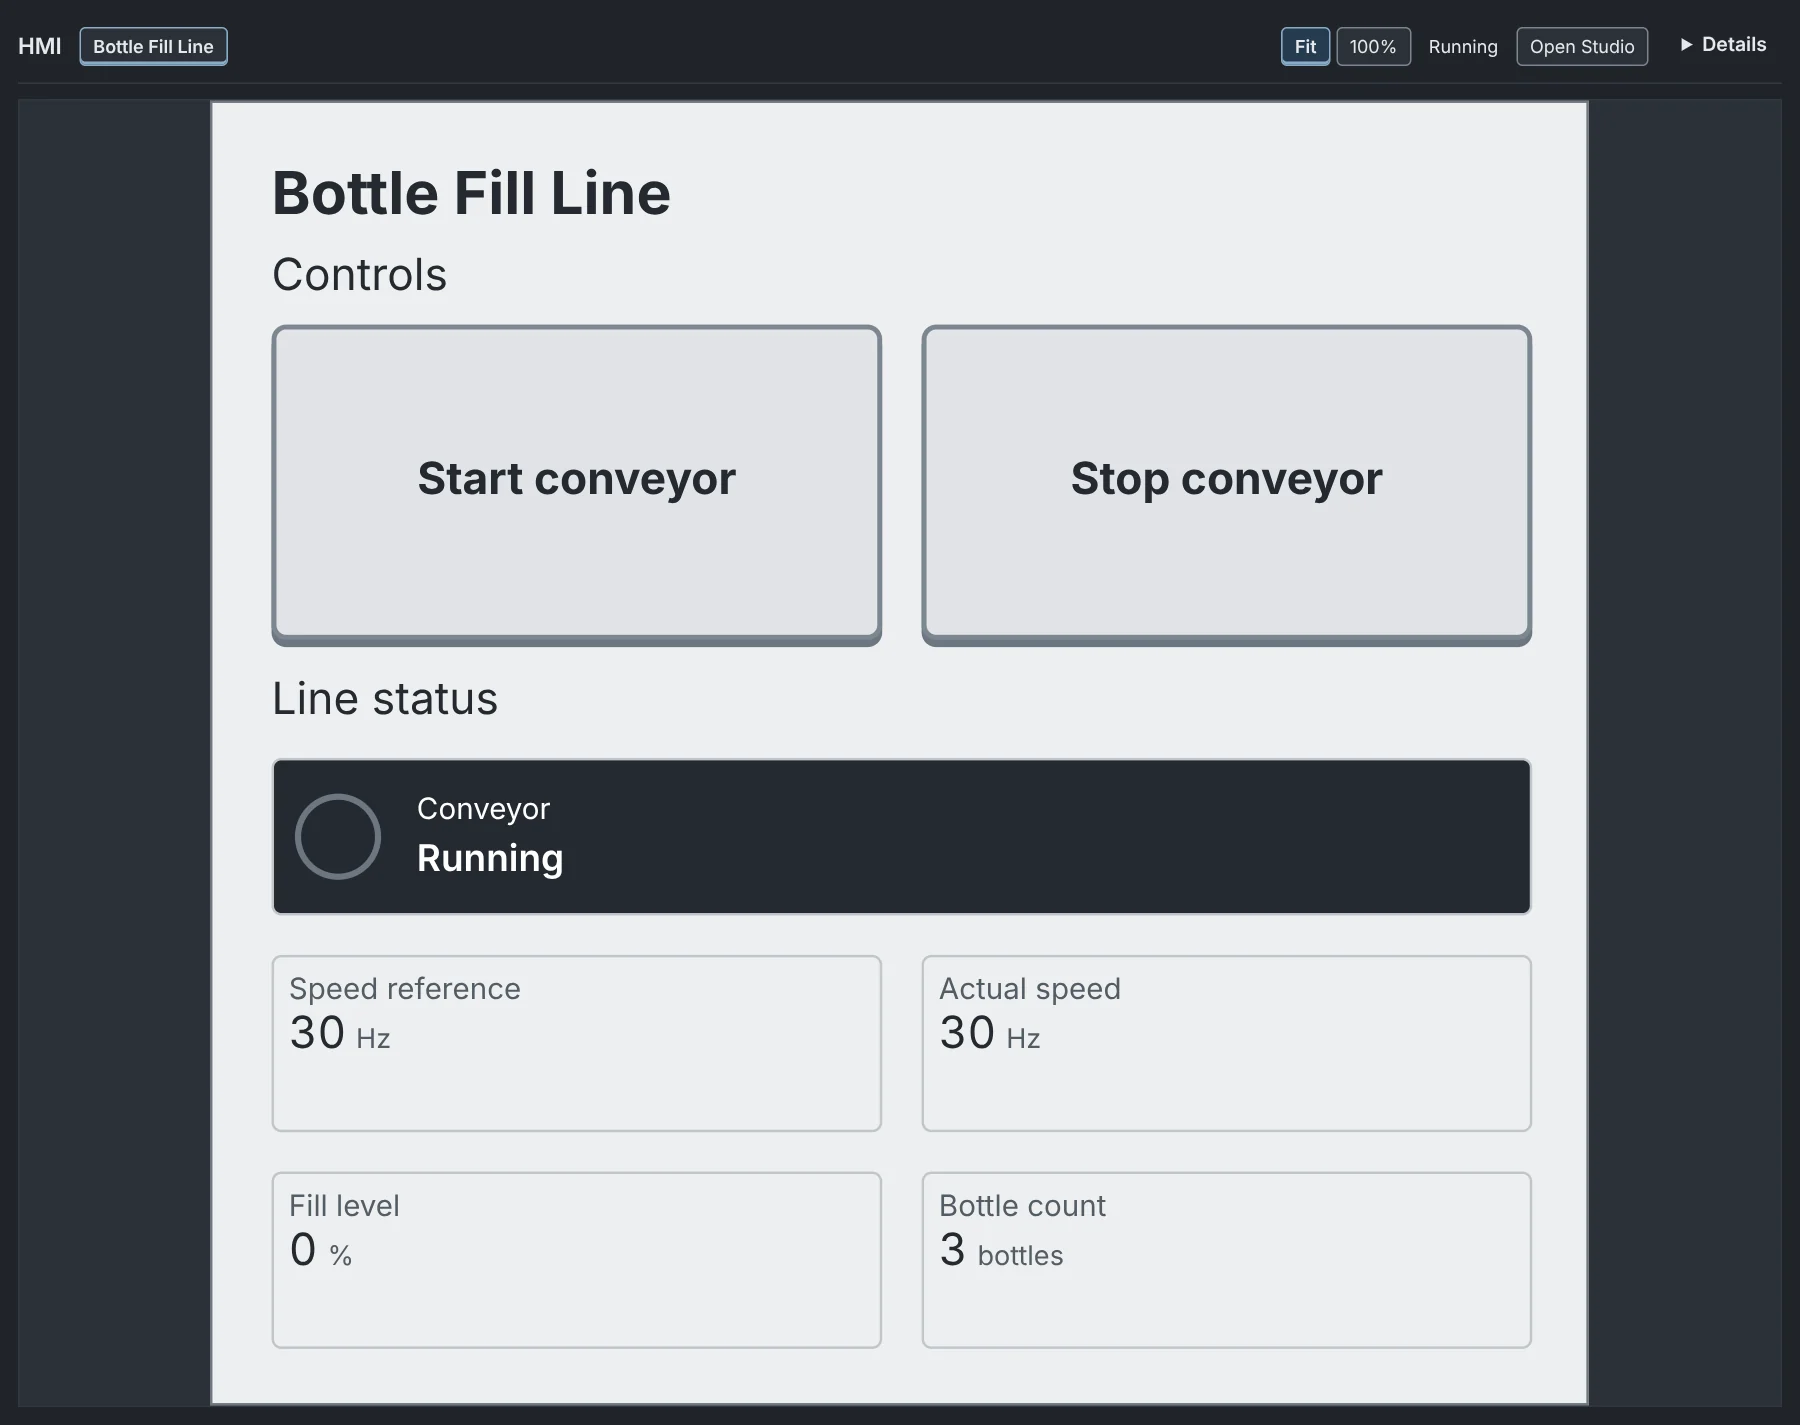
- Open the running HMI and run the PLC. Watch an indicator change before testing an input control.
Tabs
In Tab control properties, drag a tab’s reorder handle or focus it and press Alt+Up/Down to reorder the tabs. Remove deletes the tab and its objects.
Studio and the running screen
Common mistakes
- A screen edit still in Studio is not yet saved to the project file. Save to the Workspace first.
- A blank or unchanged indicator can have a missing binding. Check the tag’s scope, data type and online value.
- An operator button is a project input. Keep interlocks in the PLC logic; an educational HMI is not a safety system.